Signal chain latency from camera to screen
Latency, test patterns and image loss between camera and screen: a practical look at the live video signal chain for low-altitude work.
A live picture loses time and detail at every stage between the sensor and the screen. The main losses are latency, added by processing and transmission, and signal integrity, degraded by conversion, compression and cabling. Test patterns make both measurable before a shoot, which matters when a low-altitude camera feeds a live audience rather than a recorder.
What happens between the camera and the screen?
The chain is short in principle: lens, sensor, image processor, output interface, cable or radio link, display processor, panel. Each block adds delay and each conversion changes the signal. A camera that outputs HDMI and a monitor that accepts SDI require a converter, and that converter is a processing stage with its own latency, usually quoted in the manual but rarely measured by the operator.
Wireless links are the largest single contributor in low-altitude work. A compressed 1080p link at 60 fps typically adds 60 to 200 ms depending on codec and error correction. Uncompressed or lightly compressed links reduce this but need more bandwidth and a cleaner channel. On the ground, a switcher adds one to three frames, a scaler adds one to two, and a display panel adds 10 to 30 ms of its own. The sum is what the audience sees, not the figure printed on any single box.
For practitioners who also work with live performance and projection, the same arithmetic appears in the live video signal chain described by La Mire, a French review of live audiovisual performance. Its sections on real-time signal, latency trade-offs and projection geometry cover the same stages from a stage-side perspective rather than an aerial one.
How do you measure latency without a lab?
A clapperboard or a phone stopwatch on screen is enough. Point the camera at a display showing a running millisecond counter, then photograph both the counter and the monitor output in the same frame. The difference between the two readings is the end-to-end latency of the chain, including the camera's own processing. Repeat three times and average; single readings vary by a frame or two.
A simpler method uses a flashing LED driven by a signal generator at 1 Hz. Record the LED directly and the monitor showing the LED with a second camera at a high shutter speed. Count the frames between the two events in the footage. At 60 fps, one frame is 16.7 ms, so a 100 ms delay shows as six frames.
Both methods measure what the operator cares about: the delay between the physical event and its appearance on screen. Manufacturer figures describe individual devices under test conditions, not the assembled chain.
What do test patterns reveal about image loss?
Color bars, in the SMPTE or EBU arrangement, check level, chroma phase and black point. If the bars arrive on the monitor with crushed blacks or shifted hue, the fault is in a conversion or a cable, not in the camera. A grey-scale ramp shows banding introduced by 8-bit processing where 10-bit was available. A resolution chart with converging lines shows whether the link is passing full detail or softening it through compression.
A zone plate pattern is the most useful single test for compression artefacts. It produces a frequency sweep that a good codec handles cleanly and a poor one turns into moiré and block edges. Recording the zone plate through the full chain, then comparing it with the camera's direct output, isolates which stage is responsible.
For low-altitude work, run the test at the actual operating distance and with the actual radio channel load. A link that passes a zone plate at 10 m may fail at 300 m with other traffic on the band.
Which settings trade latency for image quality?
Every noise reduction, dynamic range and stabilization stage adds delay. In-body stabilization typically adds 10 to 40 ms. Strong temporal noise reduction can add 50 ms or more because it compares multiple frames. Log profiles do not add latency by themselves, but the display LUT applied downstream may.
If the shot is live, disable temporal noise reduction and reduce stabilization to optical or none. Shoot in a profile that needs minimal grading, or bake the look in-camera. Set the monitor to a native mode without extra processing. These choices cost some dynamic range and cleanliness but return 50 to 150 ms, which is often the difference between a usable and an unusable live feed.
If the shot is recorded and screened later, the opposite applies: keep the processing, accept the delay, and grade in post.
How does the display end change the picture?
A monitor or projector is not a neutral window. Panel response time, backlight scanning and internal scaling all affect what the audience sees. A projector adds its own processing and, in large venues, a signal distribution stage. Projection geometry matters too: throw distance, screen size and surface material change perceived contrast and sharpness, which is why the same file can look correct in a control room and flat on a large screen.
Check the display's own latency in its menu, often listed as 'game mode' or 'low latency' versus 'cinema'. The difference can exceed 100 ms. For live work, use the low-latency mode and calibrate the panel with the same test patterns used upstream.
What should be checked before a live low-altitude shoot?
Build the chain on the ground first, with the exact camera, link, converter and display that will be used. Measure end-to-end latency with the counter method. Run color bars and a zone plate through the full chain and compare with the camera's direct output. Note which stage introduces each visible defect.
Then repeat at the operating distance and with the radio environment of the site. Record the results, including frame counts and distances, so the next shoot starts from data rather than assumption. A chain that is measured once is a chain that can be trusted; a chain that is assumed is a chain that will fail on the day.
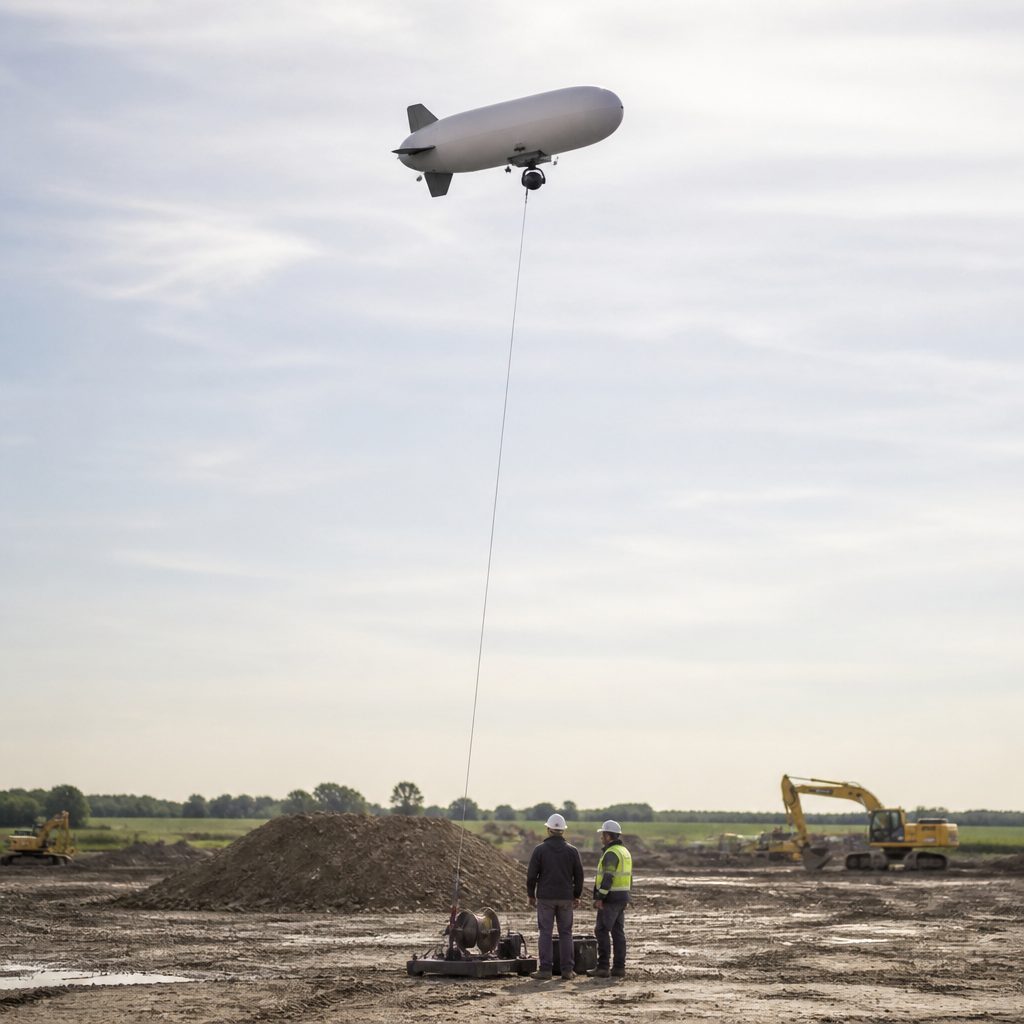
The practical target for live low-altitude work is under 150 ms end-to-end, which keeps lip sync tolerable and operator reaction usable. Below 100 ms is comfortable. Above 250 ms, the operator is reacting to a past event and the audience notices the gap. The same question is worked through in web image formats and page weight.